


| Full Journey | Wharf to Wharf: Merimbula to Tathra |
| Start | (-36.8988632,149.9274392) |
| Mode | Car |
| Directions | From Princes Highway, A1
|
| Finish | (-36.7951486,149.9375338) |
| Mode (end) | Car Shuttle Car |
| Turn map | Directions & comments |
|---|---|
 |
|
 |
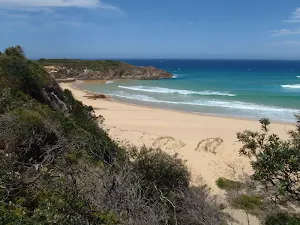
The starting point of an optional sidetrip. This little side trip takes you to the Clifftop Lookout, visiting Historic Fishermen's Lookout along the way. View the creek mouth over Bar Beach and watch planes take off from the nearby airport. To start this optional side trip continue straight here. On returning from this side trip turn right when you get back to this intersection. Details below.
|
 |
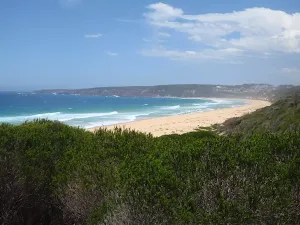
The starting point of an optional sidetrip. This optional side trip takes you to Merimbula (Long) Point lookout, where you can get exceptionally panoramic views of the Pacific. Expect 25-30 minutes (out&back) of moving time added to your hike. To start this optional side trip turn right here. On returning from this side trip turn right when you get back to this intersection. Details below.
|
 |
|
 |
|
 |
|
 |
|
 |
|
 |
|
 |
|
 |
The starting point of an optional sidetrip. This little side trip takes you to the Short Point viewpoint, which is a great place to spot whales and rare bird species. To start this optional side trip continue straight here. On returning from this side trip turn right when you get back to this intersection. Details below.
|
 |
|
 |
|
 |
|
 |
|
 |
|
 |
|
 |
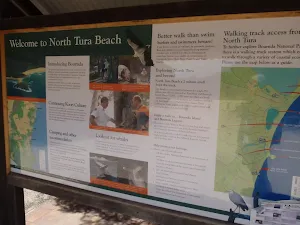
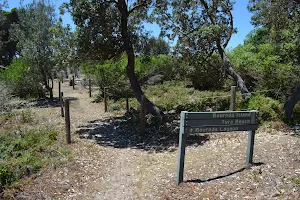
The starting point of an optional sidetrip. This optional side trip takes you to the end of Tura Head, visiting Reggie's Lookout and Tura Beach Rockpool along the way. Expect 25-30 minutes (out&back) of moving time added to your hike. To start this optional side trip continue straight here. On returning from this side trip turn right when you get back to this intersection. Details below.
|
 |
|
 |
|
 |
|
 |
|
 |
|
 |
|
 |
|
 |
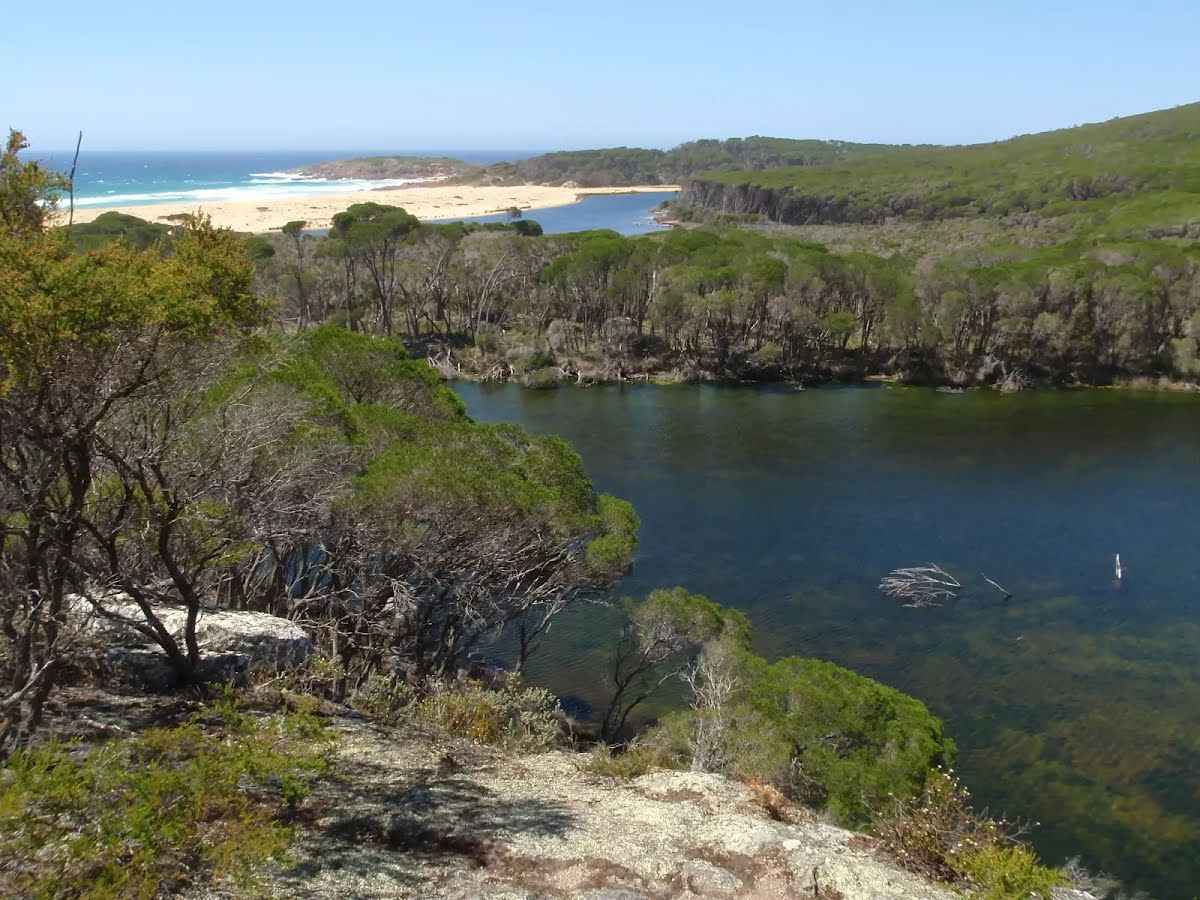
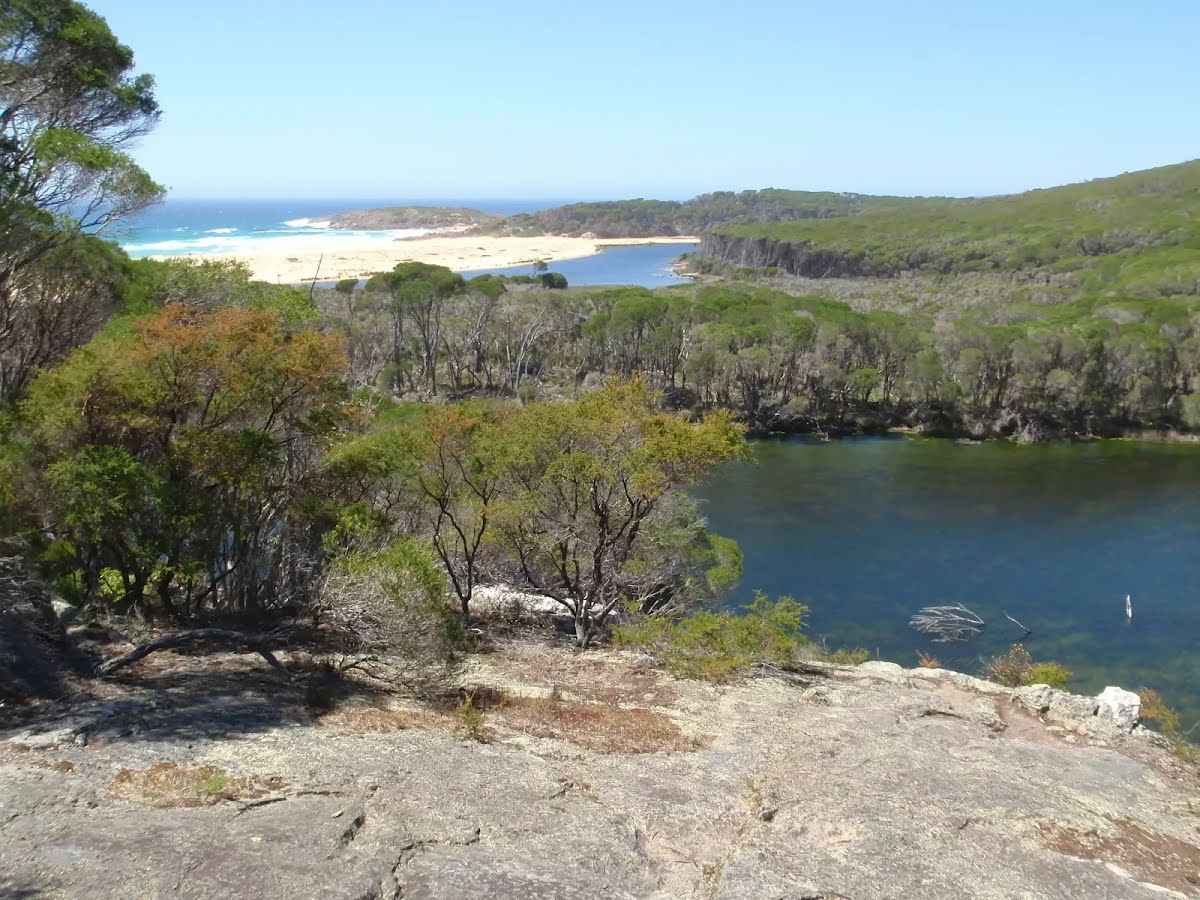
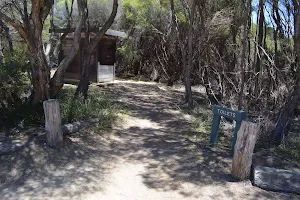
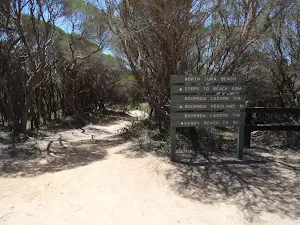
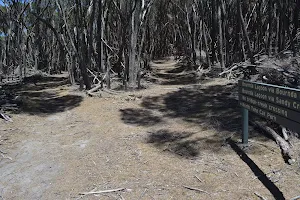
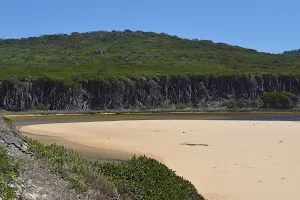
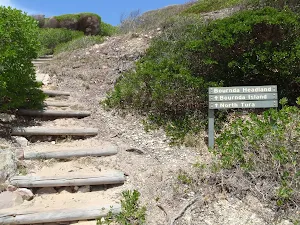
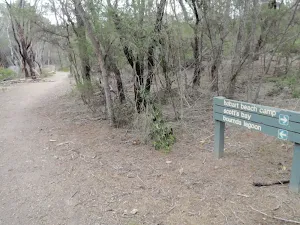
The starting point of an optional sidetrip. This optional side trip takes you to the northernmost foreshore of Sandy Creek, visiting Bournda Lagoon Lookout along the way. You can come back from this point or continue along the creek and do the full loop if you'd like to. Keep in mind that if you do so, you'll be walking in a counterclockwise direction (constantly veering left) and rejoin the main route south of Bournda Headland. To start this optional side trip continue straight here. On returning from this side trip turn around when you get back to this intersection. Details below.
|
 |
|
 |
|
 |
|
 |
|
 |
|
 |
|
 |
| Turn map | Directions & comments |
|---|---|
 |
|
 |
| Turn map | Directions & comments |
|---|---|
 |
|
 |
|
 |
| Turn map | Directions & comments |
|---|---|
 |
|
 |
|
 |
| Turn map | Directions & comments |
|---|---|
 |
|
 |
|
 |
|
 |

|
|
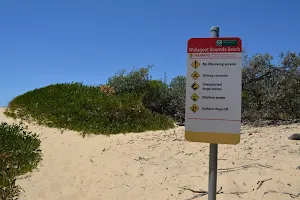
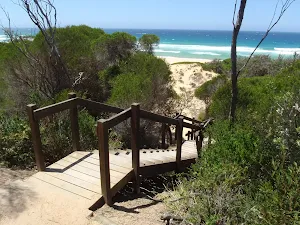
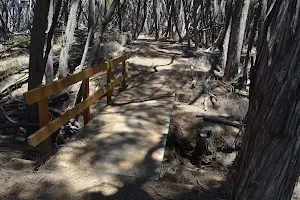
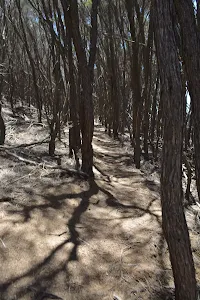
Class 3/6 Moderate track |
|---|---|
| Length | 13.9 km |
| Time | 3 h 45 min to 6 h |
| Quality of track | Formed track, with some branches and other obstacles (3/6) |
| Gradient | Short steep hills (3/6) |
| Signage | Directional signs along the way (3/6) |
| Infrastructure | Limited facilities, not all cliffs are fenced (3/6) |
| Experience Required | Some bushwalking experience recommended (3/6) |
| Weather | Storms may impact on navigation and safety (3/6) |
| Item | From Start | Name & link to notes |
|---|---|---|
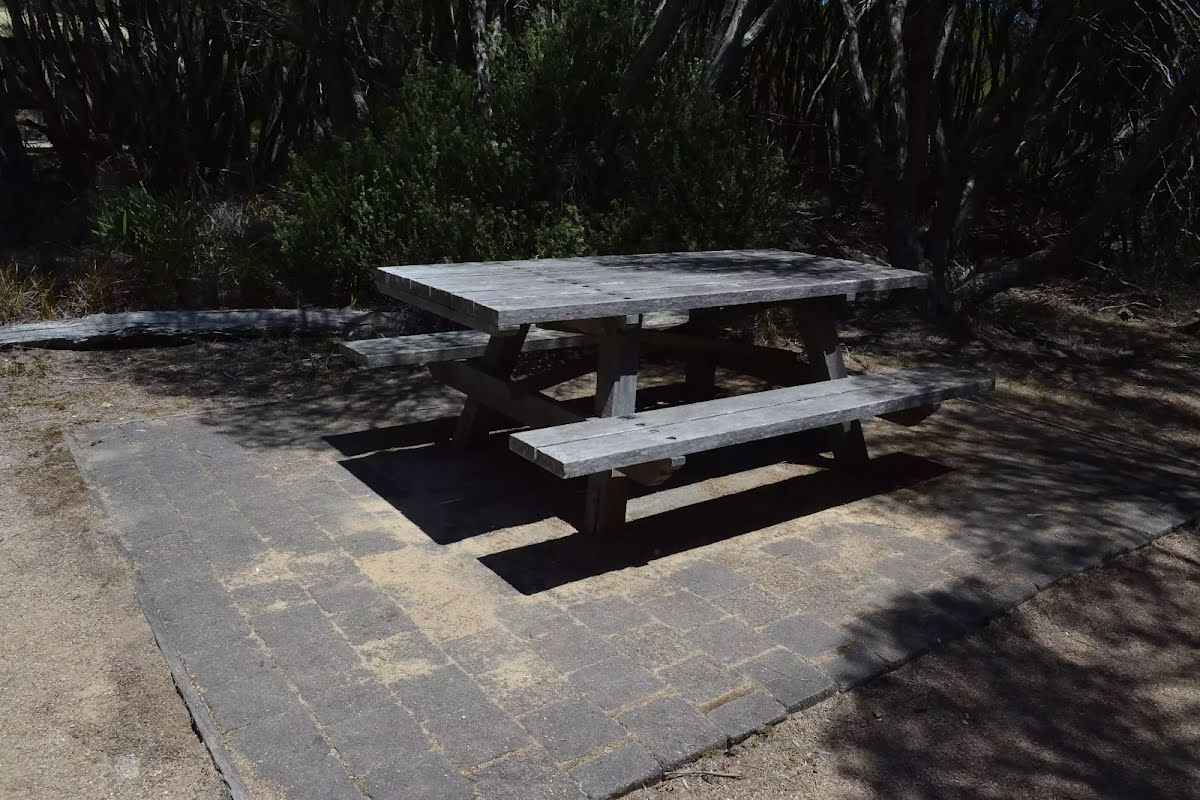
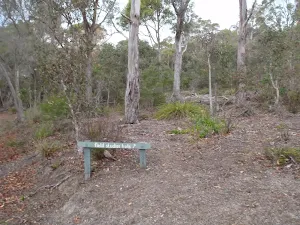
Seat
| 285 m + 800 m | [seat] |
Seat
| 2 km + 50 m | [seat] |
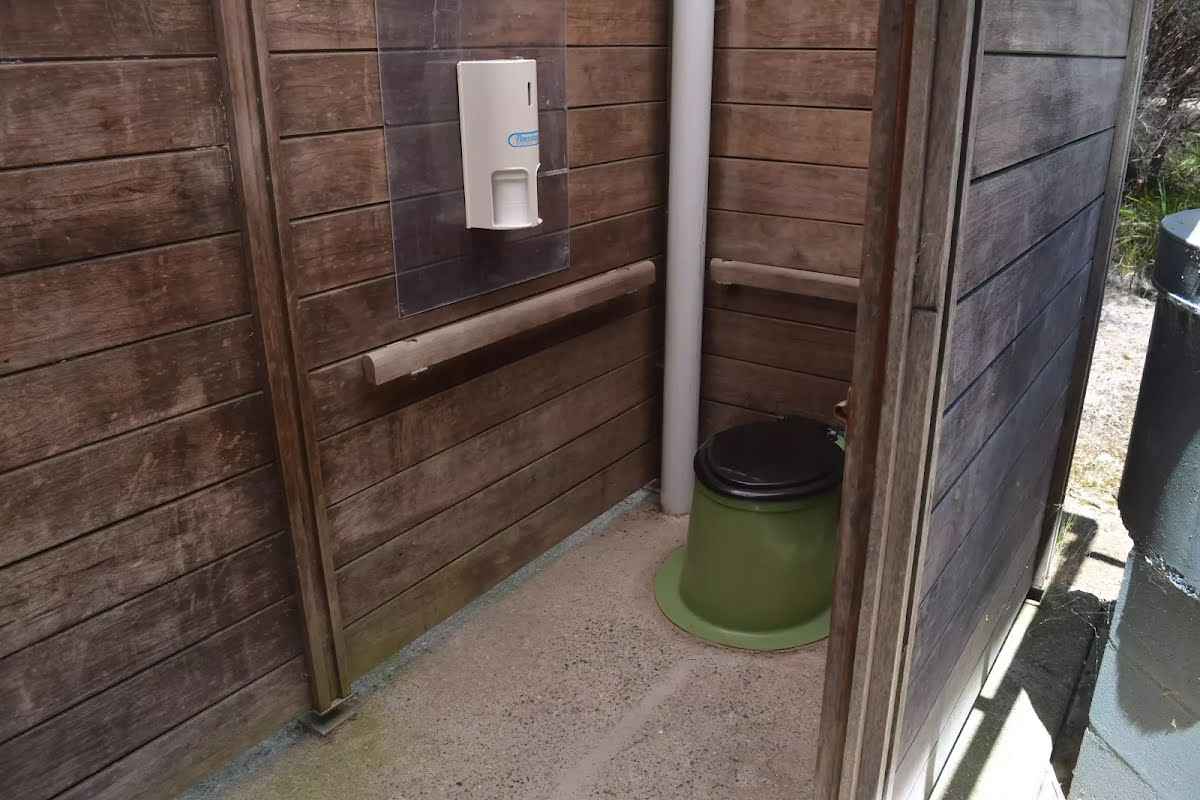
Toilet
| 2 km | [toilet] |
Seat
| 2.4 km | [seat] |
Seat
| 2.7 km | [seat] |
Toilet
| 4.2 km | [toilet] |
Toilet
| 4.2 km | [toilet] |
Entity|toilet
| 9.4 km | Toilet |
Seat
| 9.4 km | [seat] |
Toilet
| 11.2 km | [toilet] |
Toilet
| 13.7 km | [toilet] |
Camp site
| 13.7 km | Hobart Beach |