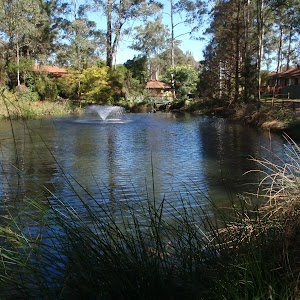
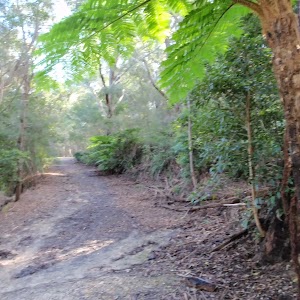
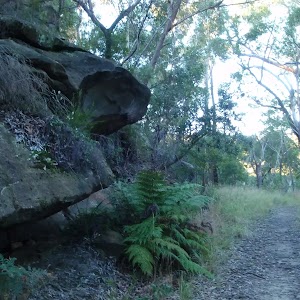
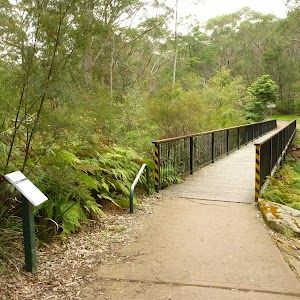
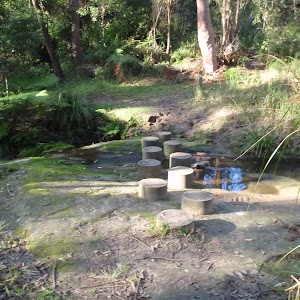
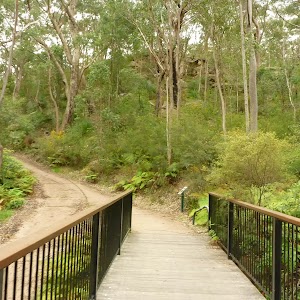
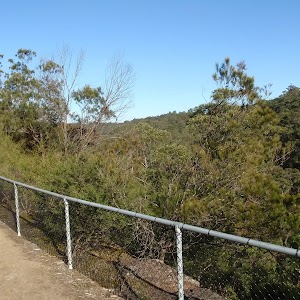
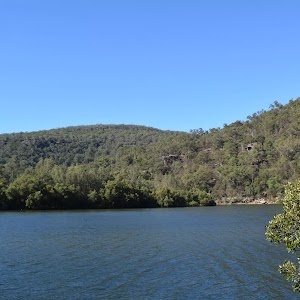
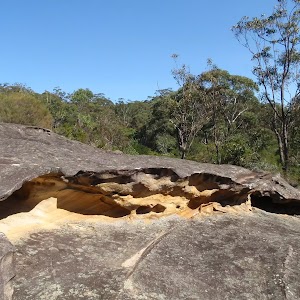
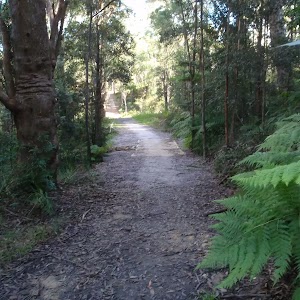
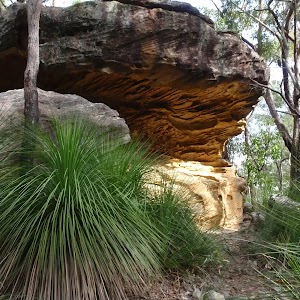
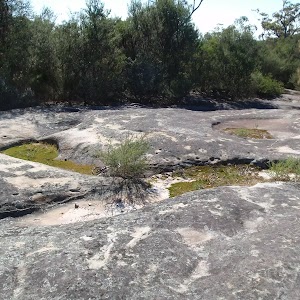
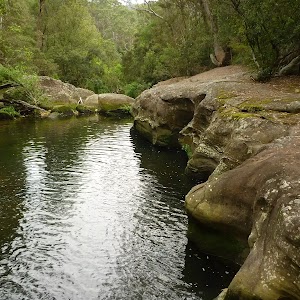
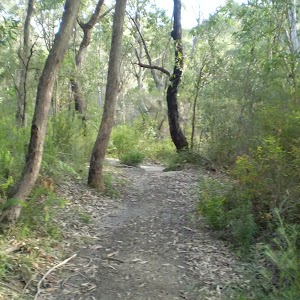
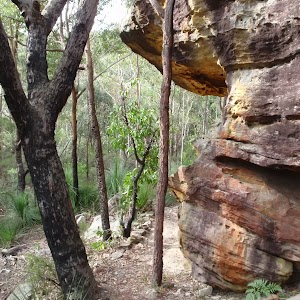
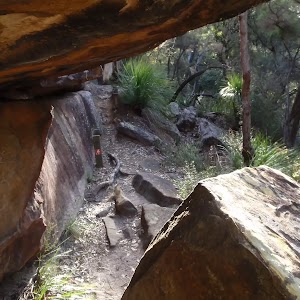
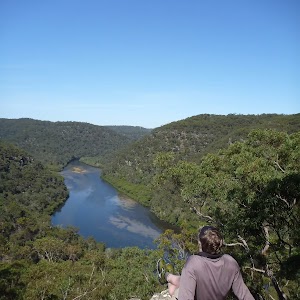
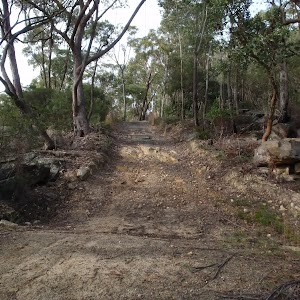
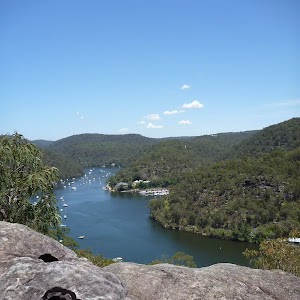
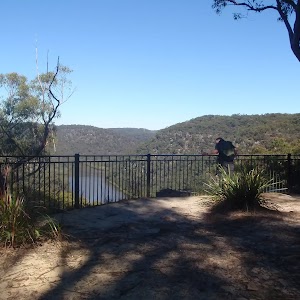
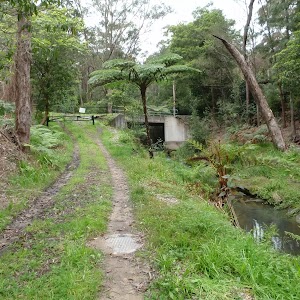
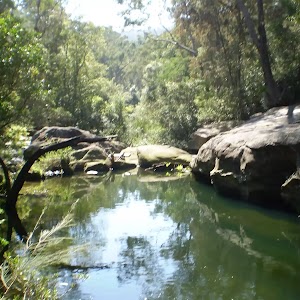
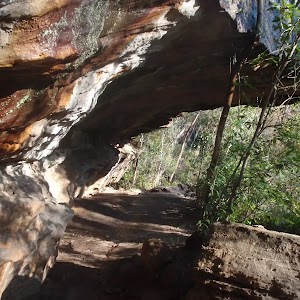
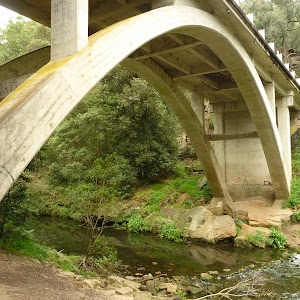
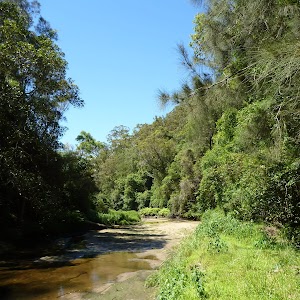
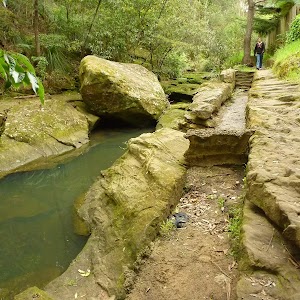
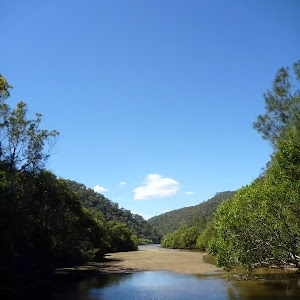
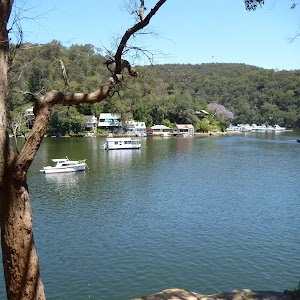
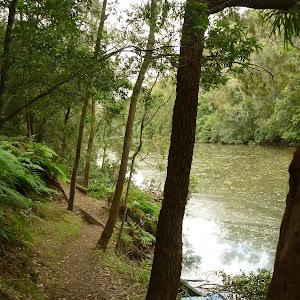
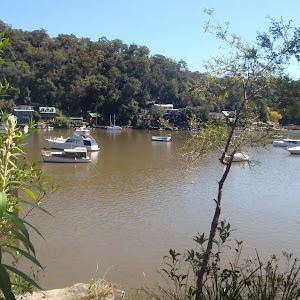
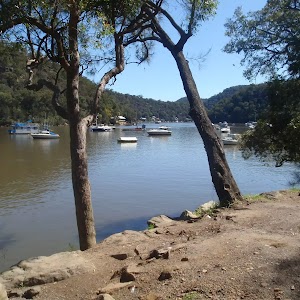
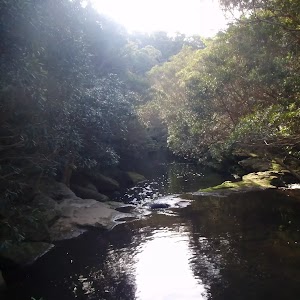
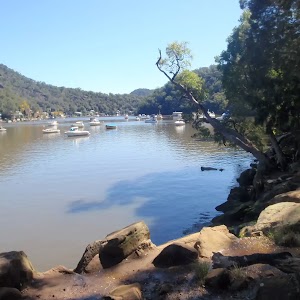
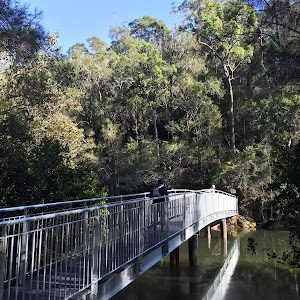
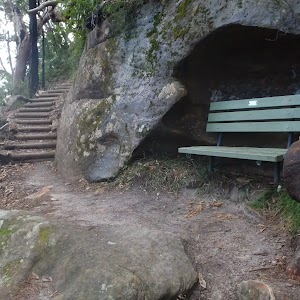
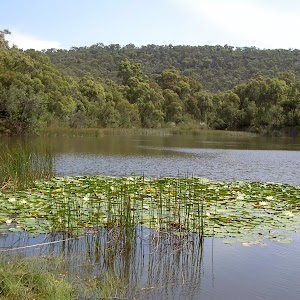
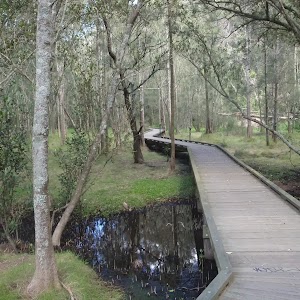
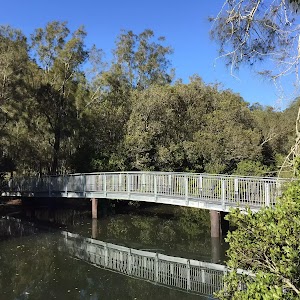
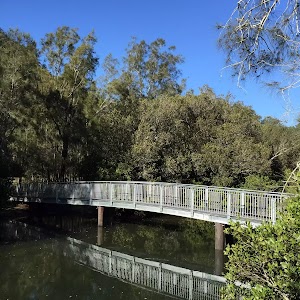
Berowra Valley
Berowra Valley Regional Park


420 m Return
15 mins
Very easy

439 m Circuit
15 mins
Moderate track

499 m One way
15 mins
Easy track

515 m One way
15 mins
Moderate track

529 m One way
15 mins
Moderate track


619 m One way
30 mins
Moderate track

828 m Return
30 mins
Moderate track

980 m Return
30 mins
Very easy

1.4 km Return
30 mins
Moderate track

2.2 km One way
1 Hr
Moderate track

2.5 km Return
1 hr 30 mins
Hard track

4.1 km One way
1 hr 45 mins
Moderate track

4.2 km Circuit
2 hrs
Hard track

4.2 km Circuit
1 hr 45 mins
Hard track


4.4 km One way
1 hr 45 mins
Moderate track

5.1 km Circuit
2 hrs
Hard track

5.6 km Return
2 hrs 30 mins
Hard track

5.7 km One way
2 hrs 45 mins
Hard track

6.6 km Circuit
2 hrs 30 mins
Hard track


6.7 km Circuit
3 hrs
Hard track

7.2 km One way
3 hrs 30 mins
Hard track

8.2 km Return
3 hrs 30 mins
Hard track

8.6 km One way
3 hrs 45 mins
Hard track

9 km One way
3 hrs 45 mins
Hard track

9.4 km Return
4 hrs
Hard track

9.7 km One way
4 hrs
Hard track

9.7 km One way
4 hrs 15 mins
Hard track

10.2 km One way
4 hrs
Hard track

12.6 km One way
5 hrs 30 mins
Hard track

12.9 km One way
6 hrs
Hard track

12.9 km One way
5 hrs 30 mins
Hard track

13.7 km Return
6 hrs
Hard track

14 km One way
7 hrs 30 mins
Hard track


15.5 km One way
6 hrs
Hard track

16.1 km One way
6 hrs 45 mins
Hard track

17.2 km One way
8 hrs
Hard track

22.3 km One way
9 hrs
Hard track

22.6 km One way
9 hrs 18 mins
Hard track

27.4 km One way
2 Days
Hard track

28.1 km One way
2 Days
Hard track

35.9 km One way
2 Days
Hard track

43.1 km One way
3 Days
Hard track

470Mhz (FM) CB frequency table
 This article lists the channel, use and frequency table for the 470 MHz FM CB radio for Australia. These radios are becoming very common in the outdoors. Cheap handed held radios that operate over 1-2km are available for less than $100 at many electronic shops. These types of CB radios give access to a large network of freely accessible repeaters throughout Australia. The use of these repeaters can extend the range of communications up 50km. Includes links to lists of all UHF CB repeaters in Australia
UHF CB repeaters NSW
UHF CB repeaters VIC
UHF CB repeaters TAS
UHF CB repeaters SA
UHF CB repeaters WA
UHF CB repeaters QLD
UHF CB repeaters ACT
UHF CB repeaters NT
| Channel | Freq (MHz) | Use |
| 1 | 476.425 | Repeater access (In Duplex mode) |
| 2 | 476.450 | Repeater access (In Duplex mode) |
| 3 | 476.475 | Repeater access (In Duplex mode) |
| 4 | 476.500 | Repeater access (In Duplex mode) |
| 5 | 476.525 | Emergency Call channel (simplex or duplex) |
| 6 | 476.550 | Repeater access (In Duplex mode) |
| 7 | 476.575 | Repeater access (In Duplex mode) |
| 8 | 476.600 | Repeater access (In Duplex mode) |
| 9 | 476.625 | |
| 10 | 476.650 | |
| 11 | 476.675 | Call channel |
| 12 | 476.700 | |
| 13 | 476.725 | |
| 14 | 476.750 | |
| 15 | 476.775 | |
| 16 | 476.800 | |
| 17 | 476.825 | |
| 18 | 476.850 | |
| 19 | 476.875 | |
| 20 | 476.900 | |
| 21 | 476.925 | |
| 22 | 476.950 | Telemetry and Remote control (ie no talking) |
| 23 | 476.975 | Telemetry and Remote control (ie no talking) |
| 24 | 477.000 | |
| 25 | 477.025 | |
| 26 | 477.050 | |
| 27 | 477.075 | |
| 28 | 477.100 | |
| 29 | 477.125 | |
| 30 | 477.150 | |
| 31 | 477.175 | (Outgoing channel for duplex repeater access) |
| 32 | 477.200 | (Outgoing channel for duplex repeater access) |
| 33 | 477.225 | (Outgoing channel for duplex repeater access) |
| 34 | 477.250 | (Outgoing channel for duplex repeater access) |
| 35 | 477.275 | (Outgoing channel for duplex repeater access -Emergency) |
| 36 | 477.300 | (Outgoing channel for duplex repeater access) |
| 37 | 477.325 | (Outgoing channel for duplex repeater access) |
| 38 | 477.350 | (Outgoing channel for duplex repeater access) |
| 39 | 477.375 | |
| 40 | 477.400 | Road channel |
Naismith’s Rule (estimate walking time)
 Naismith’s rule was developed by a William Naismith in 1892 as a basic rule of thumb that can be used to calculate the time it will take to walk from point a to b. The formula has been adapted a little since then and considers the distance to walk, the altitude changed and the speed that you will walk at.
This rule assumes a reasonable level of fitness, but Tranter’s corrections can but used to change the time to suit a particular level of fitness.
Naismith’s Rule first makes a calculation based on distance over time. eg if your walking a 4km/h for 4 km it will take you one hour. Not rocket science. But it adds a bit over an hour and a half for every 1000m you climb and about three quarters of a hour for every 500 meters you descend.
I have include two methods to help you in your trip planning. Firstly a calculator and secondly a Nomogram that you can use with a ruler in the field. Have a play with both
- Naismith’s Rule Calculator
- Naismith’s Rule Nomogram
- How to use Naismith’s Rule Nomogram
This Nomogram below can be used to calculate the estimated walking time.

At first this Nomogram can be a bit overwhelming to look at. But don’t stress I think you will pick it up quickly.
First you need to pick an altitude shift line.
Move from right to left to find the line that represents the number of meters you will climb in total, next
Move down the number of meters you will descend in total.
Follow this new line up and to the left (this is your altitude shift line)
see here we plan to climb 700m and descend 1000m

Next we keep going up the altitude shift line until we get to your estimated walking speed.
This is our pivot point.
In this example it is 4km/h

Now just draw a straight line from the number of Kilometers you plan to walk, through the pivot point till you hit the Hours axis. And voila you can read the estimated time.
In this example we will walk 10km and the answer is 4 and a half hours

If you wish to apply Tranter’s Corrections I have include a table below to help.
Fitness in the left column is the number of minutes that it would take you to climb 1000ft over 800m
| f i t n e s s (m) |
Time taken in hours using Naismith’s Rule | ||||||||||||||||
| 2 | 3 | 4 | 5 | 6 | 7 | 8 | 9 | 10 | 12 | 14 | 16 | 18 | 20 | 22 | 24 | ||
| 15 (fit) | 1 | 1½ | 2 | 2¾ | 3½ | 4½ | 5½ | 6¾ | 7¾ | 10 | 12½ | 14½ | 17 | 19½ | 22 | 24 | |
| 20 | 1¼ | 2¼ | 3¼ | 4½ | 5½ | 6½ | 7¾ | 8¾ | 10 | 12½ | 15 | 17½ | 20 | 23 | |||
| 25 | 1½ | 3 | 4¼ | 5½ | 7 | 8½ | 10 | 11½ | 13¼ | 15 | 17½ | ||||||
| 30 | 2 | 3½ | 5 | 6¾ | 8½ | 10½ | 12½ | 14½ | |||||||||
| 40 | 2¾ | 4¼ | 5¾ | 7½ | 9½ | 11½ | |||||||||||
| 50 (unfit) | 3¼ | 4¾ | 6½ | 8½ | |||||||||||||
Wind Chill
 The wind chill is the effect of the wind on people and animals. The wind chill temperature is based on the rate of heat loss from exposed skin caused by wind and cold and is to give you an approximation of how cold the air feels on your body.
As the wind increases, it removes heat from the body, driving down skin temperature and eventually the internal body temperature. Therefore, the wind makes it FEEL much colder. If the temperature is -11°C and the wind is blowing at 30km/h , the wind chill temperature is -20°C. At this level, exposed skin can freeze in just a few minutes.
The only effect wind chill has on inanimate objects, such as car radiators and water pipes, is to shorten the amount of time for the object to cool. The inanimate object will not cool below the actual air temperature. For example, if the temperature outside is -11°C and the wind chill temperature is -20°C, then your car’s radiator temperature will be no lower than the air temperature of -11°C.
The Wind Chill Chart
To determine the wind chill temperature, find the value closest to your outside air temperature. Find the value that most closely represents your present wind speed. Your wind chill temperature is the value where lines drawn from the air temperature and wind cross.
|
Air Temperature (°C) |
|||||||||||||||||||||
|
W I N D S P E E D km / h |
Calm |
4 |
2 |
-1 |
-4 |
-7 |
-9 |
-12 |
-15 |
-18 |
-21 |
-23 |
-26 |
-29 |
-32 |
-34 |
-37 |
-40 |
-43 |
||
|
8 |
2 |
-1 |
-4 |
-7 |
-11 |
-14 |
-17 |
-21 |
-24 |
-27 |
-30 |
-33 |
-37 |
-40 |
-43 |
-47 |
-49 |
-53 |
|||
|
16 |
1 |
-3 |
-6 |
-9 |
-13 |
-16 |
-20 |
-23 |
-27 |
-30 |
-33 |
-37 |
-41 |
-44 |
-47 |
-51 |
-54 |
-58 |
|||
|
24 |
0 |
-4 |
-7 |
-11 |
-14 |
-18 |
-22 |
-25 |
-28 |
-32 |
-36 |
-39 |
-43 |
-46 |
-50 |
-53 |
-57 |
-61 |
|||
|
32 |
-1 |
-4 |
-8 |
-12 |
-15 |
-19 |
-23 |
-26 |
-30 |
-34 |
-37 |
-41 |
-44 |
-48 |
-52 |
-56 |
-59 |
-63 |
|||
|
40 |
-1 |
-5 |
-9 |
-13 |
-16 |
-20 |
-24 |
-27 |
-31 |
-35 |
-38 |
-42 |
-46 |
-50 |
-53 |
-57 |
-61 |
-64 |
|||
|
48 |
-2 |
-6 |
-9 |
-13 |
-17 |
-21 |
-24 |
-28 |
-32 |
-36 |
-39 |
-43 |
-47 |
-51 |
-55 |
-58 |
-62 |
-66 |
|||
|
56 |
-2 |
-6 |
-10 |
-14 |
-18 |
-22 |
-26 |
-29 |
-33 |
-37 |
-41 |
-44 |
-48 |
-52 |
-56 |
-60 |
-63 |
-67 |
|||
|
64 |
-3 |
-7 |
-11 |
-14 |
-18 |
-22 |
-26 |
-30 |
-34 |
-38 |
-42 |
-46 |
-49 |
-53 |
-57 |
-61 |
-64 |
-68 |
|||
|
72 |
-3 |
-7 |
-11 |
-15 |
-19 |
-23 |
-27 |
-31 |
-34 |
-38 |
-42 |
-46 |
-50 |
-54 |
-58 |
-62 |
-66 |
-69 |
|||
|
80 |
-3 |
-7 |
-11 |
-16 |
-19 |
-23 |
-27 |
-31 |
-35 |
-39 |
-43 |
-47 |
-51 |
-55 |
-59 |
-63 |
-67 |
-71 |
|||
|
89 |
-4 |
-8 |
-12 |
-15 |
-19 |
-24 |
-28 |
-32 |
-36 |
-39 |
-43 |
-48 |
-52 |
-56 |
-59 |
-63 |
-67 |
-72 |
|||
|
97 |
-4 |
-8 |
-12 |
-16 |
-20 |
-24 |
-28 |
-32 |
-36 |
-40 |
-44 |
-48 |
-52 |
-56 |
-60 |
-64 |
-68 |
-72 |
|||
What is important about the wind chill besides feeling colder than the actual air temperature? The lower the wind chill temperature, the greater you are at risk for developing frost bite and/or hypothermia.
Frostbite occurs when your body tissue freezes. The most susceptible parts of the body are fingers, toes, ear lobes, and the tip of the nose. Hypothermia occurs when body core temperature, normally around 37°C falls below 35°C. The following table shows how fast frostbite can occur at various wind chill temperatures.
|
Wind Chill |
Cold Threat |
|
-6°C to 4°C |
COLD. Unpleasant. |
|
-17°C to -7°C |
VERY COLD. Very unpleasant. |
|
-28°C to -18°C |
BITTER COLD. Frostbite possible. Exposed skin can freeze within 5 minutes. |
|
-56°C to -29°C |
EXTREMELY COLD. Frostbite likely. Exposed skin can freeze within 1 minute. Outdoor activity becomes dangerous. |
|
-57°C and lower |
FRIGIDLY COLD. Exposed skin can freeze in 30 seconds. |
The best way to avoid hypothermia and frostbite is to stay warm and dry indoors. When you must go outside, dress appropriately. Wear several layers of loose-fitting, lightweight, warm clothing. Trapped air between the layers will insulate you. Remove layers to avoid sweating and subsequent chill.
Outer garments should be tightly woven, water repellent, and hooded. Wear a hat, because half of your body heat can be lost from your head. Cover your mouth to protect your lungs from extreme cold. Mittens, snug at the wrist, are better than gloves. Try to stay dry and out of the wind.
Geotagging Photos
A GPS knows where it has been and a digital photo know when the image was captured. Geotagging software looks at both the GPS data and the photo to work out where the camera was when the photo was taken. Cool huh!
To geotag your photos you can use almost any digital camera, a GPS logger and some free software.
At wildwalks we use this process with every photo we take to help catalog our photos, review tracknotes and find photos for each walk and campsite. I am sure you will find many uses for it.
Part of the magic is that digital photos have extra info called EXIF data. This is where the camera can store info like, what time the photo was taken, what lense was used, if the flash was on. There are standard EXIF tags for storing location data like Latitude and Longitude. This does not effect the look of the photo.
The quick overview
1) Turn on your GPS logger, and carry it with you
2) Take lots of photos
3) Sync the GPS and Photos on your computer
4) see your photos on a map
GPS Logger
A GPS logger is any device with a GPS that can remeber where it has been. You have a few choices for a GPS logger that vary greatly in quality and battery life. Here is a list of some devices that can be a GPS logger;
most hand held GPS units,
many mobile phones (with GPS’s built in),
a dedicated GPS logger
Once you have a a GPS logger set it to record at an appropriate interval. If you set them to record too often on a long trip, you will run out of memory. But the more often they log the more accurate the geocoding process is. For a new GPS logger, logging every second of a weekend trip will work find. You can use many to record every 10 or 100 meters so you save memory when you are not moving. There are lots of settings to play with.
Once set up and recording, make sure the GPS has a clear view of the sky, place it in the top of your pack, avoid burying in or down the side. Consider parting with the cash to buy a dedicated GPS logger (http://shop.ebay.com.au/?_nkw=gps+logger) they are generally much better than the other options mentioned.
Taking your photos
Take your masterpieces as you usually would, just make sure you have your GPS with you and that it is logging. One handy trick is to set the camera’s clock close to the time on the GPS clock, and don’t change it. It is more important that the time is consistant than accurate. So don’t go changing the camera clock half way through a trip.
Working out the time differance
To make sure the photos align well, we want to note the time between the camera and GPS. Most syncing software has an inbuilt calculator to do this. But to know the time stamp differance take a photos of the GPS clock, or another accurate UTC clock (time.gov). Then you can see the official time in the photo and the EXIF data stores the camera’s time.
Syncing the photos and GPS data
Follow your camera and GPS instructions to upload your images and GPS data to your computer. There are many programs that can be used for geotagging your photos, and many are free. My favourtie is gpicsync It works on most operating systems, is free and opensource. Download it and get started. It is fairly easy to follow but if you get stuck, try yelling at the computer and if that does not work then try reading the instructions.
Where in the world are my photos?
Now the photos know where they were taken, so what next?. Gpicsync creates a ‘KML’ file that you can open in Google Earth and see your photos and route, it is pretty cool. To manage a larger number of trips you can load your photo into Picasa (free). Picasa is a cute photo manager that allows you to do many basic functions like crop and rotate, but also allows you to view you photos on Google Earth.
You can also share your geotagged photos with the wider world through services like Picasa web, Panoramio, and flickr.
Other options
If you have money to spend and think this is pretty cool stuff then you can get a camera with built in or clip on GPS such as a Canon or Nikon digital SLR. This way the photos are geotagged when you press the shutter release, no need to do this syncing process. Also you can get a GPS with a digital compass so you can even tell which direction the camera was looking.
If you want to geotag photos that you do not have GPS data for, then you can use Picasa and Google Earth. Picasa makes this process much less painful. You select the photos, and it opens Google Earth, then you point to where the photo was taken, and Picasa updates the EXIF data.
Some bonus Tips
- Set the log frequency to the highest possible setting considering the length of your journey (At wildwalks we log once every second).
- Make sure your GPS has a good view of the sky – the antenna should pointing up and be at the top of your pack.
- On Long trips – think about batteries – some GPS need to be plugged in to charge. A GPS that uses AA batteries is probably better for longer trips. Set the logging interval to be based on distance rather than time (or a mix of both). Switch the GPS off overnight or when not using the camera.
- Please (pretty please) have an off site back up your photos. computers will let you down
Walks in the Blue Mountains National Park

Author: Neil Paton
Edition: 1
Publisher: Kangaroo Press
ISBN: 0864171293
Number of pages: 128
Year of Publication: 1987
Cover Price (au$): 10.95
Format: Paperback
Weight (grams): 145
Regions the book covers: Blue Mountains
Height (cm): 19
Subjects:
Nature trails - New South Wales - Blue Mountains National Park - Guidebooks,Hiking - New South Wales - Blue Mountains National Park - Guidebooks,Blue Mountains National Park (N.S.W.) - Guidebooks
Niche: Blue Mountains
Interpretive Information: Minimal
Grade system explained: No
Ascent and/or Decent provided: No
Driving directions provided: No
Date walks last reviewed provided: No
A summary of walks provided: No
Regional Map of walks provided: Yes
Maps designed for walking: Yes - limited detail
Type of maps used (for walking): Sketch
Colour used in walking maps: Black and White
Size of walking maps: 3/4 page
Walking map Comment: Most maps are shared by at least a few walks
Colour depth of photos: Black and White
Comment on Photographs: One photograph every three pages (on average)
Level of detail in tracknotes: Detailed route information
Alternate route and side trip suggestions: Many walks
Take A Walk in Kosciuszko National Park
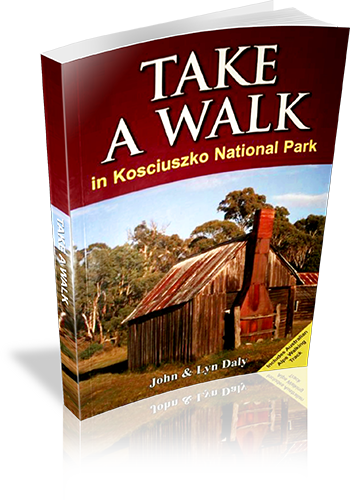
Author: John Daly,Lyn Daly
Edition: 1
Publisher: Take a Walk Publications
ISBN: 9780957793187
Number of pages: 255
Year of Publication: 2010
Cover Price (au$): 34.95
Format: Paperback
Website: http://www.takeawalk.com.au/
Weight (grams): 340
Regions the book covers: kosciuszko national park
Height (cm): 21
Subjects:
Hiking - New South Wales - Kosciuszko National Park - Guidebooks. | National parks and reserves - New South Wales - Kosciuszko National Park - Guidebooks. | Kosciuszko National Park (N.S.W.) - Guidebooks.
Niche: kosciuszko
Grade system explained: Yes
Ascent and/or Decent provided: No
Driving directions provided: Yes
Date walks last reviewed provided: No
A summary of walks provided: Yes
Regional Map of walks provided: Yes
Maps designed for walking: Yes - reasonable detail
Type of maps used (for walking): Sketch
Colour used in walking maps: Multicolour
Size of walking maps: 1/4 page
Walking map Comment: varey in sizes
Colour depth of photos: Colour
Comment on Photographs: small to medium colour photo's every second page
Level of detail in tracknotes: General route description
Alternate route and side trip suggestions: Some walks
Take a walk in a national park – Sydney to Port Macquarie
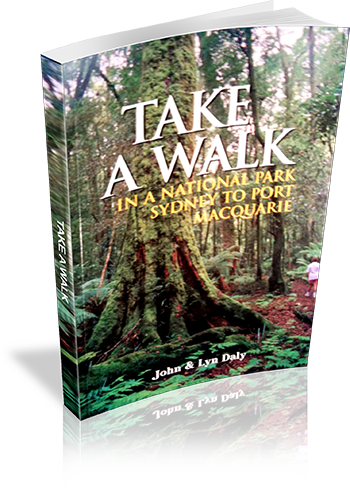
Author: John Daly, Lyn Daly
Edition: 1
Publisher: Take A Walk Publications
ISBN: 0957793111
Number of pages: 224
Year of Publication: 2000
Cover Price (au$): 21.95
Format: Paperback
Website: http://www.takeawalk.com.au/
Weight (grams): 390
Regions the book covers: Between Sydney City and Port Macquarie NSW (mostly near the coast)
Height (cm): 21
Subjects:
Hiking - New South Wales - Guidebooks,National parks and reserves - New South Wales - Guidebooks
Interpretive Information: Plenty
Grade system explained: No
Ascent and/or Decent provided: No
Driving directions provided: Yes
Date walks last reviewed provided: No
A summary of walks provided: Yes
Regional Map of walks provided: Yes
Maps designed for walking: No - no maps intended for use when walking
Colour depth of photos: Colour
Comment on Photographs: Colour plat of 16 photo's provided at the centre of the book. No other photos provided
Level of detail in tracknotes: Detailed route information
Alternate route and side trip suggestions: Some walks
Sydney’s Best Bush, Park & City Walks
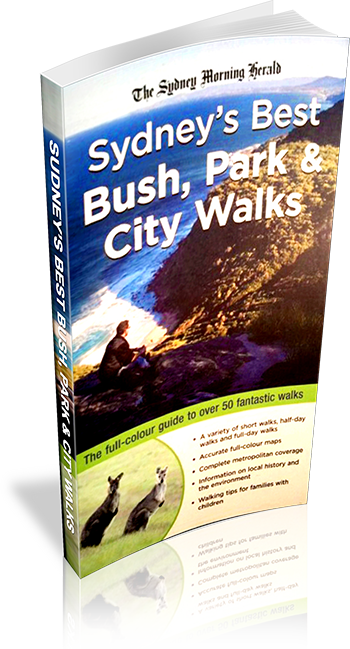
Author: Veechi Stuart
Edition: 1
Publisher: Woodslane Press
ISBN: 9781921203145
Number of pages: 212
Year of Publication: 2008
Cover Price (au$): 29.95
Format: Paperback
Website: http://www.woodslane.com.au/
Weight (grams): 400
Regions the book covers: Sydney
Height (cm): 22
Subjects:
Trails - New South Wales - Sydney Region - Guidebooks,Hiking - New South Wales - Sydney Region - Guidebooks,Sydney Region (N.S.W.) - Guidebooks
Niche: Includes parkland and city street walks
Interpretive Information: Plenty
Grade system explained: Yes
Ascent and/or Decent provided: Yes
Driving directions provided: Yes
Date walks last reviewed provided: No
A summary of walks provided: Yes
Regional Map of walks provided: Yes
Maps designed for walking: Yes - reasonable detail
Type of maps used (for walking): Sketch
Colour used in walking maps: Multicolour
Size of walking maps: 1/4 page
Walking map Comment: Maps are varied in size, appropriate to walk
Colour depth of photos: Colour
Comment on Photographs: Photos on most pages
Level of detail in tracknotes: Detailed route information
Alternate route and side trip suggestions: Many walks
Jenolan Caves & The 6 Foot Track
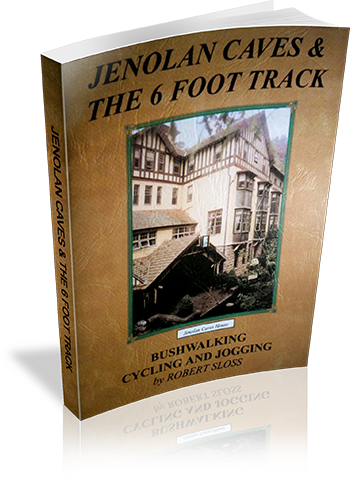
Author: Robert Sloss
Edition: 1
Publisher: Robert Sloss
ISBN: 0958651280
Number of pages: 26
Year of Publication: 2000
Cover Price (au$): 11.90
Format: Paperback
Website: http://www.robertsloss.com.au/Guide%20Index.htm
Weight (grams): 55
Regions the book covers: Jenolan Caves, Six Foot Track
Height (cm): 21
Subjects:
Hiking -- New South Wales -- Jenolan Caves -- Guidebooks,Hiking -- New South Wales -- Blue Mountains -- Guidebooks,Jenolan Caves (N.S.W.) -- Guidebooks,Blue Mountains (N.S.W.) -- Guidebooks
Interpretive Information: Some
Grade system explained: Yes
Ascent and/or Decent provided: No
Driving directions provided: No
Date walks last reviewed provided: No
Regional Map of walks provided: Yes
Maps designed for walking: Yes - limited detail
Type of maps used (for walking): Sketch
Colour used in walking maps: Simple colour
Size of walking maps: Full page
Colour depth of photos: Colour
Comment on Photographs: Small photograph on most pages, giving a sense of the region
Level of detail in tracknotes: Detailed route information
Alternate route and side trip suggestions: Many walks