Hey guys

This update will cover what was involved in turning the fabric from a sheet, into a tube. I have also reinforced this tube since, but in the interest of time (and more photos!) I will leave that topic to a future post. Hopefully this won't be too boring a read - I've included more details in this post because this part was probably the most challenging of the project so far. There are also some potential hiccups not mentioned on the website that newcomers should be aware of. Anyway, enough chat!

I started out by making a template of the raft floor. I have found it more convenient having multiple templates for the different pieces, as opposed to one do-it-all template. The original plan had the floor marked out with a dotted line, but I made this a solid line for improved accuracy when cutting it out. I also labelled the front to avoid the devastation of finding out I had bonded the floor in reverse!
It's not shown in the next photo, but again, I pinned my fabric and template out with books before tracing on the floor margin. To determine where to place the template, I took a measurement from my plan using a curved seam as a landmark.
I used a red "Sharpie" permanent marker to trace the floor onto the fabric. I chose this over chalk for two reasons. Firstly, chalk on a seam surface has the potential to reduce bond strength come welding time. Secondly, this area will eventually be covered by another piece of fabric so permanently marking the fabric was not an issue.This line marked on the fabric becomes the back of the seam. Depending on how thick you have designed your seam to be, you need to draw on another line more centrally so that you can visualise the floor margin when welding down your tubes (your back seam will be invisible at this point). For reference, I have chosen a 4 cm tube-floor seam width on this raft.
Following this, I marked my seam width on the fabric which would be coming down to the floor. I marked this line with chalk due to the surface being nylon, and not TPU like before.
I then cut my curved seams to the edge of the chalk mark as seen below. This was so that I could visualise the back seam mark and position my fabric accordingly, prior to welding. It's worth taking your time at this point as a good first weld creates a solid foundation for the rest of the seam (do a poor one and it's all down hill from there as I discovered!


)
Ready to weld. Again, pinning out the fabric is imperative!
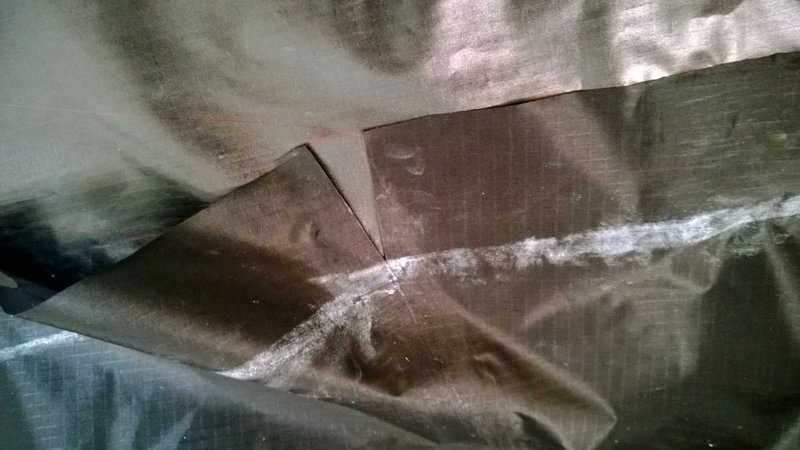
The next photo shows one of the mistakes I made (and which I now do differently). Avoid cutting out the corner and trying to make it look great,
before bonding the seams on either side of it. Once you've got the seams on either side bonded down, the joint becomes much easier to manipulate and can be made near perfect. If you do otherwise though, and make a misjudgment on how much fabric needs to be cut away (easily done when the fabric is non-welded and mobile), you risk affecting the alignment of the next seam and the joint itself will likely look second rate. [Note: I made a small mistake here regarding how I originally welded the strip down to the edge of the fabric on my curved seams. I will elaborate on this more in my next post.]

The second and probably most important lesson I learnt, regarded the order in which the seams should be welded. After welding the long, straight seam (1) I found it easiest to weld the midline seams (2), followed by the seams in between them (3). I had a few stressful moments trying to bond seam (3) immediately after (1), and ended up having to take the seam apart and redoing it again with aquaseal. I was feeling well out of my depth at this point and was starting to wonder why I hadn't just repaired the puncture in my old pool toy!

Luckily it all went smoothly after changing the order though, and I bonded the rest of the tube without any issues. These seams are much more difficult to bond than any done up until now, as they are curved, have overhang from tube above, and involve large lengths of fabric. Welding them is certainly achievable but requires patience and attention to detail.
Below is the long, straight seam (1) after being welded down. The number of air bubbles that appear under the fabric can be reduced by welding out from the centre line. Whilst welding I also had to regularly re-chalk my margins as they could be easily brushed off with all the handling.
Finally, once the seams were complete I went back and put a blob of aquaseal in each of the corner joints as the apex was difficult to access and I was skeptical as to how waterproof they were.


