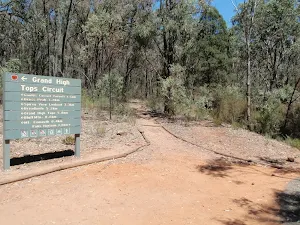
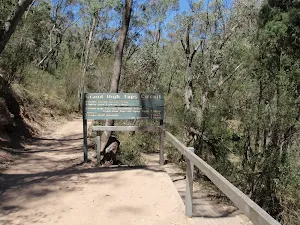
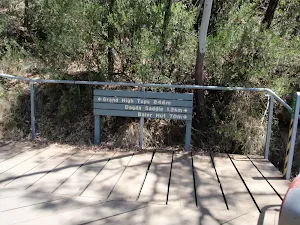
| Start | From the Grand High Tops Track (-31.2961514,148.9946129) |
| Mode | Car |
| Directions | From , Coonabarabran. |
| Turn map | Directions & comments |
|---|---|
 |
|
 |
|
 |
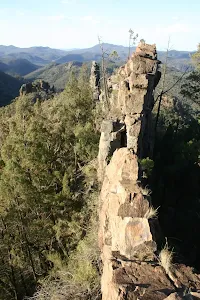
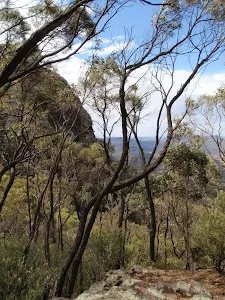
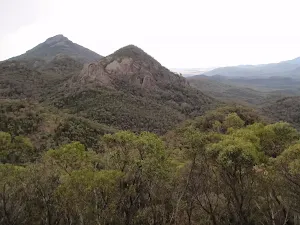
The starting point of an optional sidetrip. An optional side trip to the Fan's Horizon Lookout, perched atop the sandstone cliffs of Balgatan Mountain, offering expansive views over the unique rock formations of Belougery Spire, the Breadknife and Crater Bluff. To start this optional side trip turn right here. On returning from this side trip turn left when you get back to this intersection. Details below.
|
 |
|
 |
|
 |
|
 |
|
 |
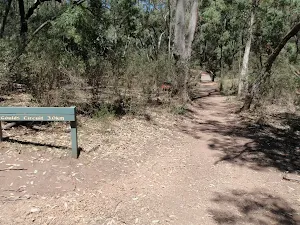
The starting point of an alternate route. An alternate route along the Goulds Circuit, which climbs the rocky outcrops of Febar Tor and Macha Tor, offering sweeping views of Belougery Spire, the Breadknife, Crater Bluff and Bluff Mountain. To take the alternate route turn left here. Details below.
|
 |
|
 |
The alternate route finishes here. Turn left to rejoin the main route at the 2.4 km waypoint. Details below.
|
 |
The starting point of an optional sidetrip. An optional side trip to the Spirey View Lookout, which offers good views of Belougery Spire, the Breadknife and the Grand High Tops. To start this optional side trip turn left here. On returning from this side trip turn left when you get back to this intersection. Details below.
|
 |
|
 |
|
 |
The starting point of an alternate route. An alternate route along the Dadga Shortcut, which runs along the base of the Breadknife, passing Balor Hut. To take the alternate route turn right here. Details below.
|
 |
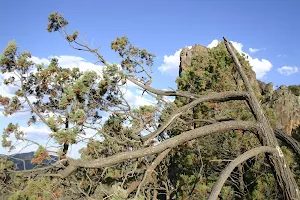
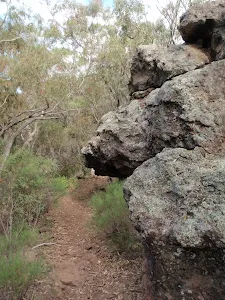
The starting point of an optional sidetrip. An optional side trip to Breadknife Gap, a little-known lookout through a gap in the rock wall of the Breadknife, which offers stunning views of Balor Peak and the valley of Spirey Creek. To start this optional side trip turn right here. On returning from this side trip turn sharp left when you get back to this intersection. Details below.
|
 |
The alternate route finishes here. Veer right to rejoin the main route at the 5.8 km waypoint. Details below.
|
 |
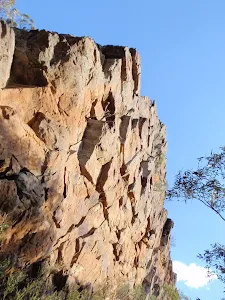
The starting point of an optional sidetrip. An optional side trip to the summit of Bluff Mountain, which offers panoramic views of Belougery Spire, the Breadknife, Crater Bluff and Mount Exmouth. To start this optional side trip turn left here. On returning from this side trip turn right when you get back to this intersection. Details below.
|
 |
|
 |
|
 |
|
 |
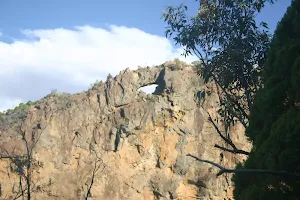
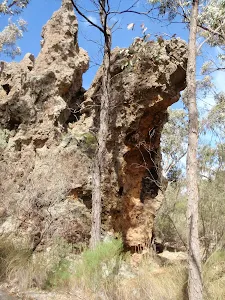
The starting point of an optional sidetrip. An optional side trip to the Cathedral Arch, a 10 metre-high natural bridge rock formation connecting two outcrops, with a single white gum tree growing in the middle. To start this optional side trip turn left here. On returning from this side trip error >360 when you get back to this intersection. Details below.
|
 |
The starting point of an optional sidetrip. An optional side trip to the summit of Mount Exmouth, the highest peak in the Warrumbungles, which offers 360-degree views over the surrounding landscape. To start this optional side trip continue straight here. On returning from this side trip turn sharp right when you get back to this intersection. Details below.
|
 |
|
 |
|
 |
|
 |
|
 |
|
 |
|
 |
|
 |
The starting point of an alternate route. An alternate route along the Belougery Split Rock Circuit, which passes the summit of Belougery Split Rock, offering fantastic views of Belougery Spire, the Breadknife, the Grand High Tops and the Siding Spring Observatory. To take the alternate route turn sharp right here. Details below.
|
 |
|
 |
|
 |
|
 |
|
 |
|
 |
|
 |
|
 |
|
 |
|
 |
|
 |
|
 |
|
 |
|
 |
|
 |
|
 |
|
 |
|
 |
|
 |
After another 790 m (from the Campers Link Track) continue straight, to head along Campers Link Track.
|
 |
|
 |
|
 |
|
 |
|
 |
|
 |
|
 |
|
 |
|
 |
| Turn map | Directions & comments |
|---|---|
 |
|
 |
|
 |
|
 |
| Turn map | Directions & comments |
|---|---|
 |
|
 |
|
 |
|
 |
|
 |
|
 |
|
 |
|
 |
|
 |
|
 |
| Turn map | Directions & comments |
|---|---|
 |
|
 |
| Turn map | Directions & comments |
|---|---|
 |
|
 |
|
 |
|
 |
| Turn map | Directions & comments |
|---|---|
 |
|
 |
| Turn map | Directions & comments |
|---|---|
 |
|
 |
|
 |
| Turn map | Directions & comments |
|---|---|
 |
|
 |
| Turn map | Directions & comments |
|---|---|
 |
|
 |
| Turn map | Directions & comments |
|---|---|
 |
|
 |
|
 |
|
 |
|
 |
|
 |
|
 |
|
 |

|
|
Class 4/6 Hard track |
|---|---|
| Length | 21.6 km |
| Time | 8 h to 3 days |
| Quality of track | Rough track, where fallen trees and other obstacles are likely (4/6) |
| Gradient | Very steep (4/6) |
| Signage | Clearly signposted (2/6) |
| Infrastructure | Limited facilities, not all cliffs are fenced (3/6) |
| Experience Required | Moderate level of bushwalking experience recommended (4/6) |
| Weather | Foretasted & unexpected storms and severe weather may impact on navigation and safety (4/6) |
| Item | From Start | Name & link to notes |
|---|---|---|
Camp site
| 270 m | Camp Pincham |
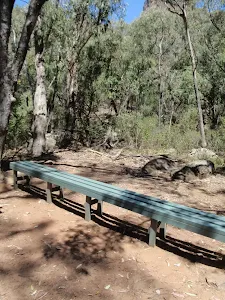
Seat
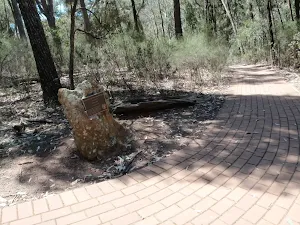
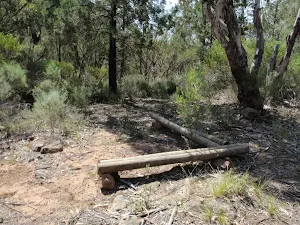
| 3.8 km | Wilsons Rest |
Seat
| 4.4 km | [seat] |
Tourism|alpine_hut
| 4.4 km + 100 m | Balor Hut |
Camp site
| 6.7 km | Dows Camp |
Camp site
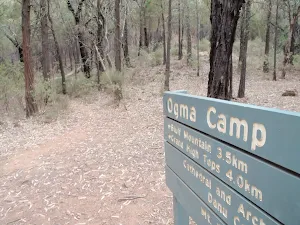
| 8.8 km | Ogma Camp |
Camp site
| 10.4 km | Danu Camp |
Camp site
| 12.7 km | Camp Burbie |
Campsite
| 16.6 km | Camp Wambelong |
Toilet
| 16.6 km | [toilet] |
Toilet
| 17.6 km | [toilet] |
Shelter
| 18.9 km | [shelter] |
Seat
| 20 km | [seat] |
Toilet
| 20.1 km | [toilet] |
Toilet
| 21.6 km | [toilet] |